
“`html
An Irresistible Treat: Cherry Cheesecake Brownies
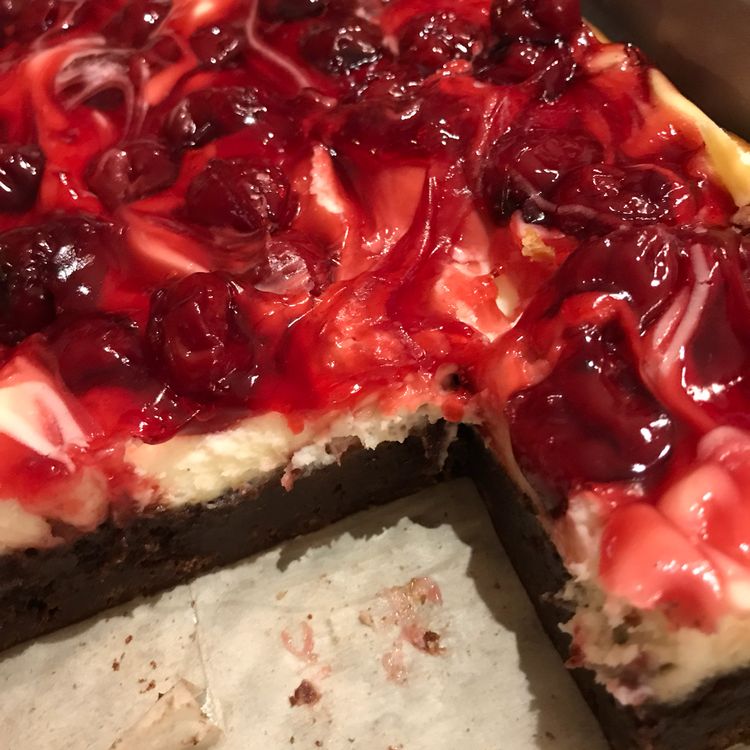
Imagine the rich decadence of chocolate melded seamlessly with the tangy sweetness of cherry cheesecake, all in a single, luscious brownie. Our Cherry Cheesecake Brownies are an indulgence like no other, perfect for sharing with family and friends. Plus, they can easily be made gluten-free! Whether served warm or chilled, these brownies are sure to delight. Store any leftovers in the refrigerator—if there are any!
Why You’ll Love This Recipe
These Cherry Cheesecake Brownies are a crowd-pleaser, combining the beloved flavors of chocolate and cherry cheesecake in a single dessert. They’re simple to make, especially if you use a boxed brownie mix, and they taste great whether served as a casual treat or a special dessert. Plus, they can be customized to fit a gluten-free diet without losing any of their deliciousness!
Kitchen Equipment You’ll Need
- Microwave
- Electric mixer
- 9×13-inch baking pan
- Knife or spatula
- Measuring cups and spoons
Ingredients
Brownies:
- 1 cup butter
- 2 cups white sugar
- 2/3 cup cocoa powder
- 4 eggs
- 2 teaspoons vanilla extract
- 1 cup gluten-free all-purpose baking flour
- 1/2 teaspoon gluten-free baking powder
- 1/4 teaspoon salt
Cheesecake Mix:
- 1 (8 ounce) package cream cheese, softened
- 1/3 cup white sugar
- 1 egg
- 1 (21 ounce) can cherry pie filling
Step-by-Step Instructions
- Preheat the oven to 350 degrees F (175 degrees C). Grease a 9×13-inch baking pan.
- Melt the butter in the microwave for about 1 minute. Stir in the sugar and cocoa powder.
- Blend in the eggs one at a time using an electric mixer, then add the vanilla extract.
- In a small bowl, combine the flour, baking powder, and salt. Add this to the batter, mixing until well combined. Pour into the prepared baking pan and level with a knife or spatula.
- In a second bowl, beat together the cream cheese, sugar, and 1 egg until smooth. Dollop the cream cheese mixture on top of the brownie batter.
- Separate the cherries from the jelled filling and dollop them over the cream cheese mixture, saving any leftover jelly for another use if desired. Swirl together using a knife.
- Bake in the preheated oven until the brownies are set and the edges pull away from the sides of the pan, about 35 to 45 minutes. Remove from the oven and cool thoroughly before cutting into bars.
Tips for Success
- Ensure the cream cheese is softened for easy mixing and a smooth cheesecake layer.
- For best results, drain the cherries well if using canned pie filling.
- Allow the brownies to cool completely before slicing for clean cuts and well-defined layers.
Additional Tips or Variations
- Feel free to use a boxed brownie mix to save time without compromising on taste.
- Experiment with other pie fillings, such as blueberry or raspberry, for a different twist on this recipe.
- For an extra chocolatey kick, add some chocolate chips to the brownie batter.
Nutritional Highlights (Per Serving)
While nutritional information will vary based on the specific brands and quantities used, each serving of these Cherry Cheesecake Brownies typically offers a delightful balance of fats, sugars, and proteins, making them a rich treat to be enjoyed in moderation.
Frequently Asked Questions (FAQ)
Can these brownies be made ahead of time? Yes, you can bake them a day in advance and store them in the refrigerator until you’re ready to serve.
Can I freeze these brownies? Absolutely! Wrap them tightly in plastic wrap and store in an airtight container in the freezer for up to two months.
What if I can’t find gluten-free flour? You can use regular all-purpose flour if gluten-free is not a concern.
Conclusion
Our Cherry Cheesecake Brownies are a delightful marriage of flavors and textures, perfect for any occasion. We invite you to try this recipe and experience the magic yourself. Don’t forget to share your thoughts and any creative variations you come up with!
“`